You can create a new tab by clicking on the "+" sign at the top of your page

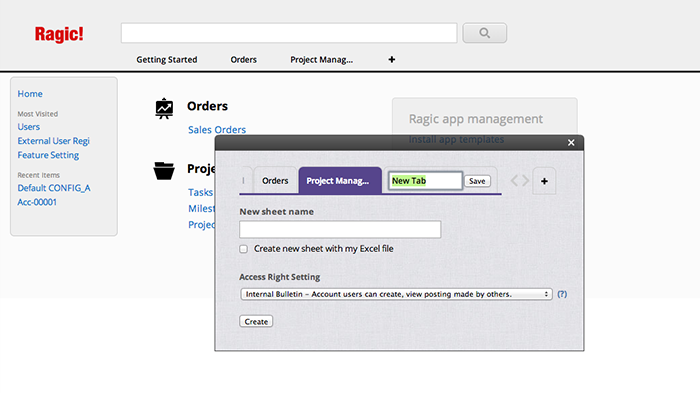
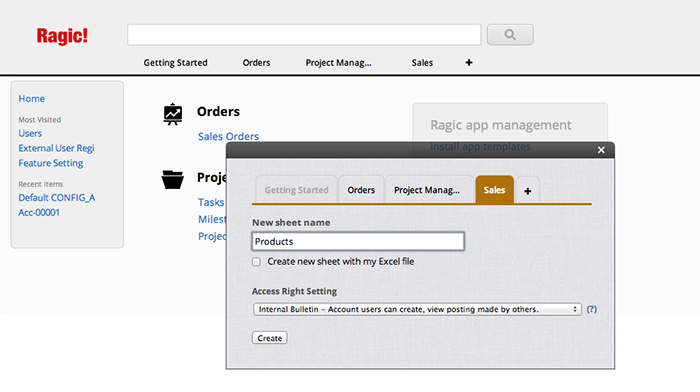
After naming your new sheet, make sure that it's under the correct tab. This sheet will become your Form Page, as described in the last section. Clicking on Create will take you to the Design Mode of youre new Form Page.
Usually, the process of designing the page starts with creating new form fields for the Form Page. Just type in the field names that you would like to create, and line them up vertically. You can put these fields in more than one column if needed. Just remember to keep the space needed for the values of these entries.
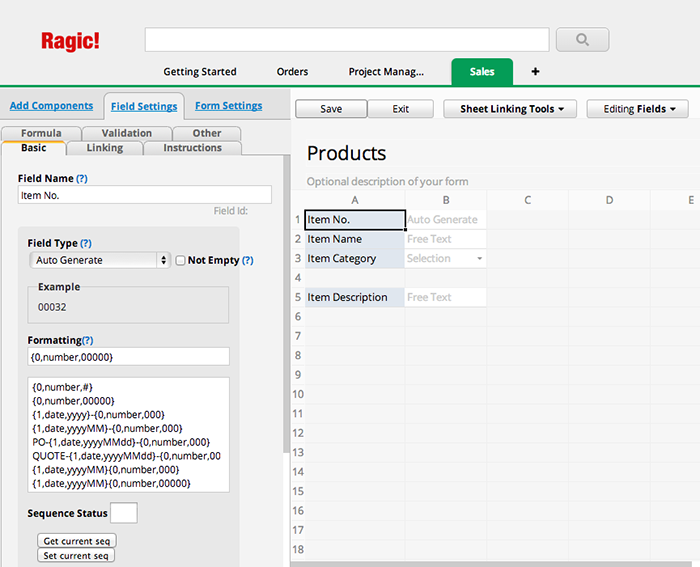
When a field is created, remember that you can set the Input Types, which is generally the most often used attribute. If the field value is like a category, or if it will be repeated many times during input, choose Selection or Multiple Select. If the field is a Number or Date, it should be a good idea to set them accordingly. These fields all have their own formatting options, which will be discussed in the Field Types documentation.
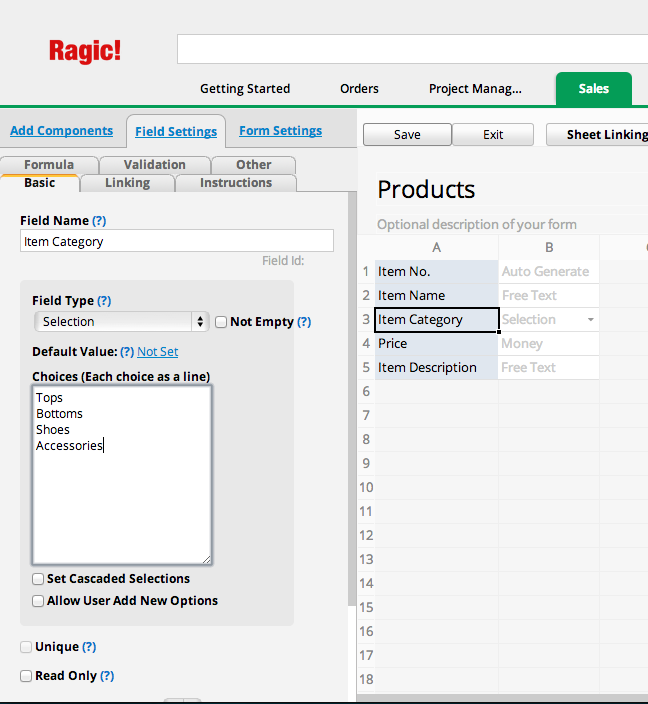
When the fields are created, you can adjust the height and width of a cell with your mouse by dragging the edges of the description column and rows of the sheet, just like how you would do it on a spreadsheet application such as Excel. This will make the form look a lot better.
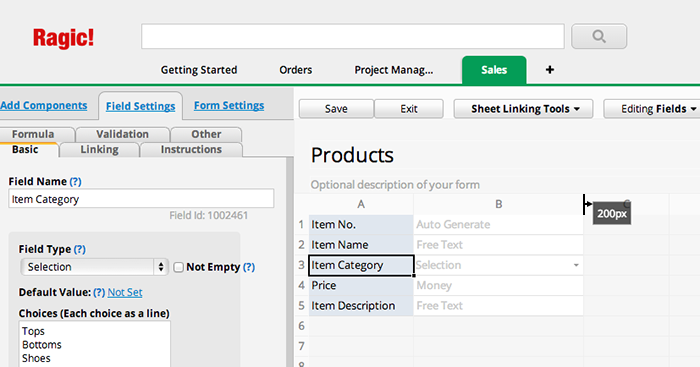
When you're done, click Save and exit the design mode, you will see your form online and ready to take input.
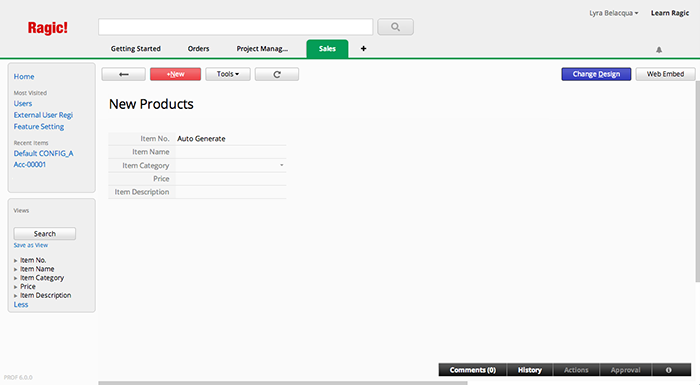
Now let's take a look at your Listing Page, you can click on the back button at the upper left corner of your sheet to go to the listing page, which should contain all the fields that you just created.
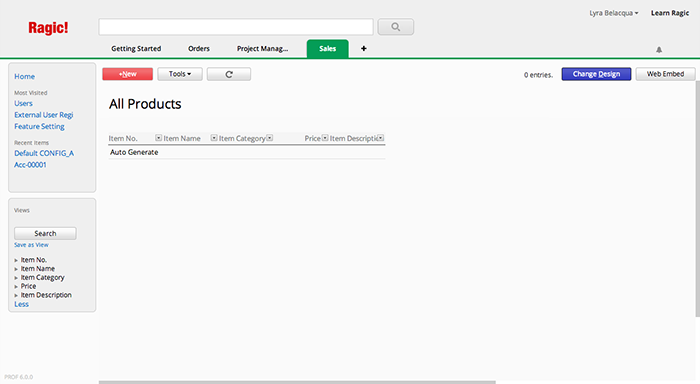
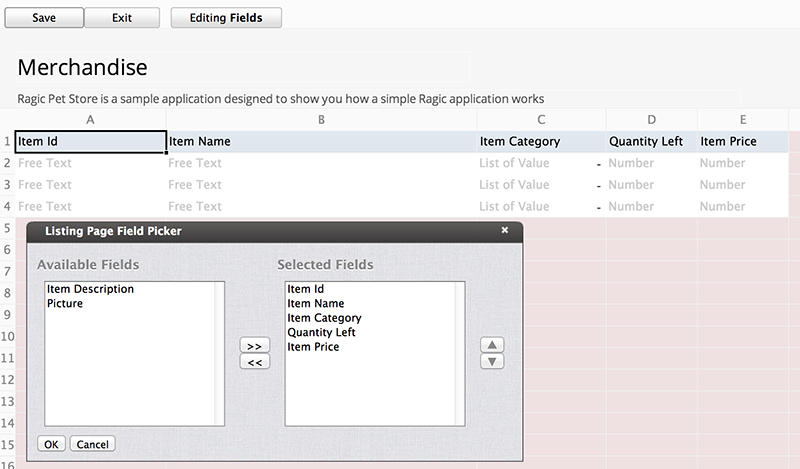
Users usually don't like to have many fields in a listing, and to remove columns from the listing page, you can click on the Change Design button on the listing page to go to the design mode.Here you will see a listing page field selector. You can select the fields that you would like to display on the listing page, and decide on the order that these fields are displayed. You can also adjust the width of the columns like you have done in your Form Page. When you're done, don't forget to click Save to save your design.
This is a brief overview of the process of designing a simple form on Ragic, but of course there are tons of other things that you can do with Ragic to do almost anything that you would like to do on a database application. Check out the rest of this manual and your imagination is the limit.